Driving the Rubicon Trail
Most Common Route
Difficulty Difficult to Extreme
Length 17 Miles
Season Summer through early Fall
Elevation 6,000 feet to 7,200 feet
Starts At Loon Lake, CA
GPS 39°00’11.9″N 120°18’41.3″W
Duration 2 Days (average)
Vehicle Requirments 33″ Tires, 1 Locker min, Winch
Long Route
Difficulty Difficult to Extreme
Length 22 Miles
Season Summer through early Fall
Elevation 5,300 feet to 7,200 feet
Starts At Airport Flat Campground, CA
GPS 38°59’00.7″N 120°22’45.4″W
Duration 2 Days (average)
Vehicle Requirements 33″ Tires, 1 Locker min, Winch
What it Takes to Drive the Rubicon
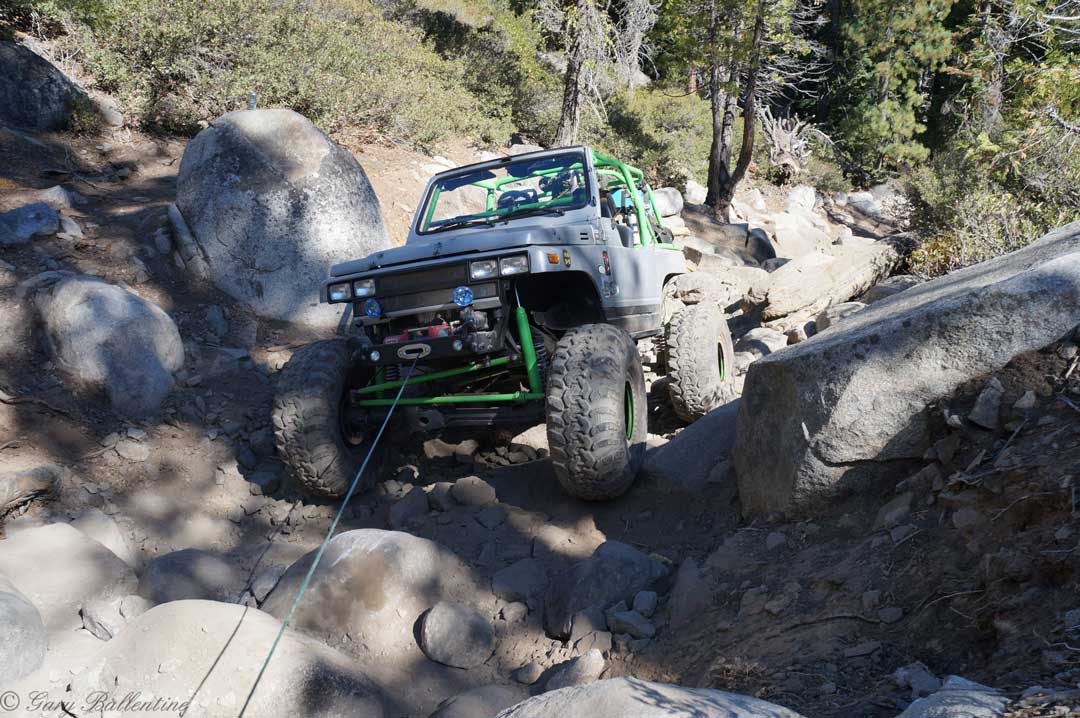
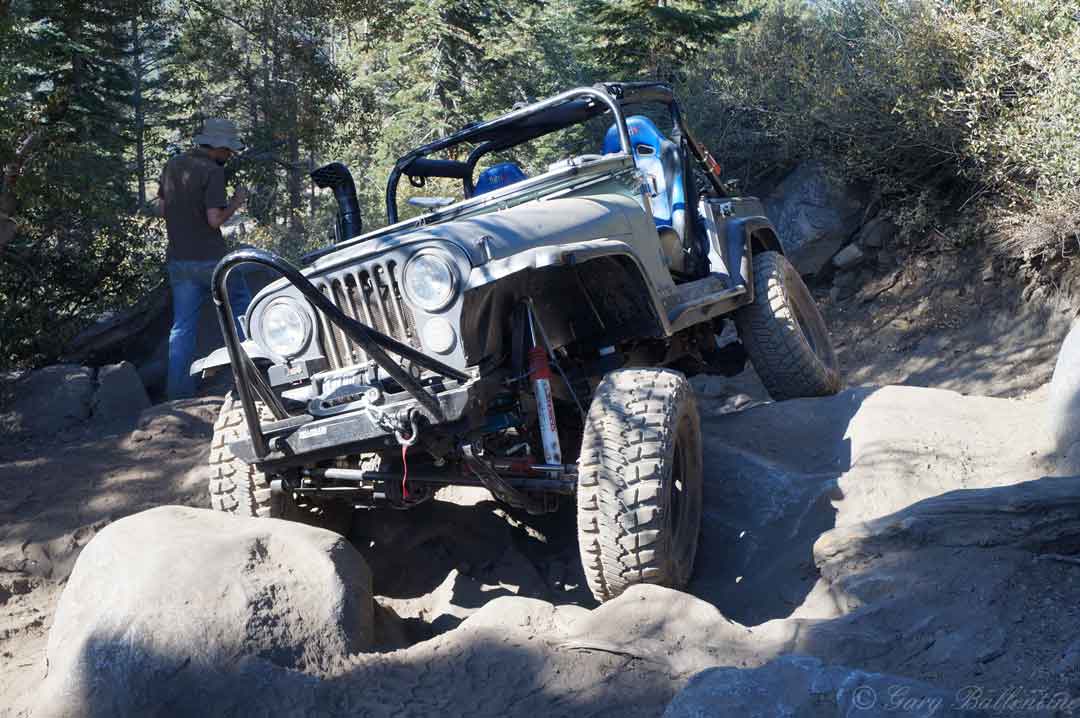
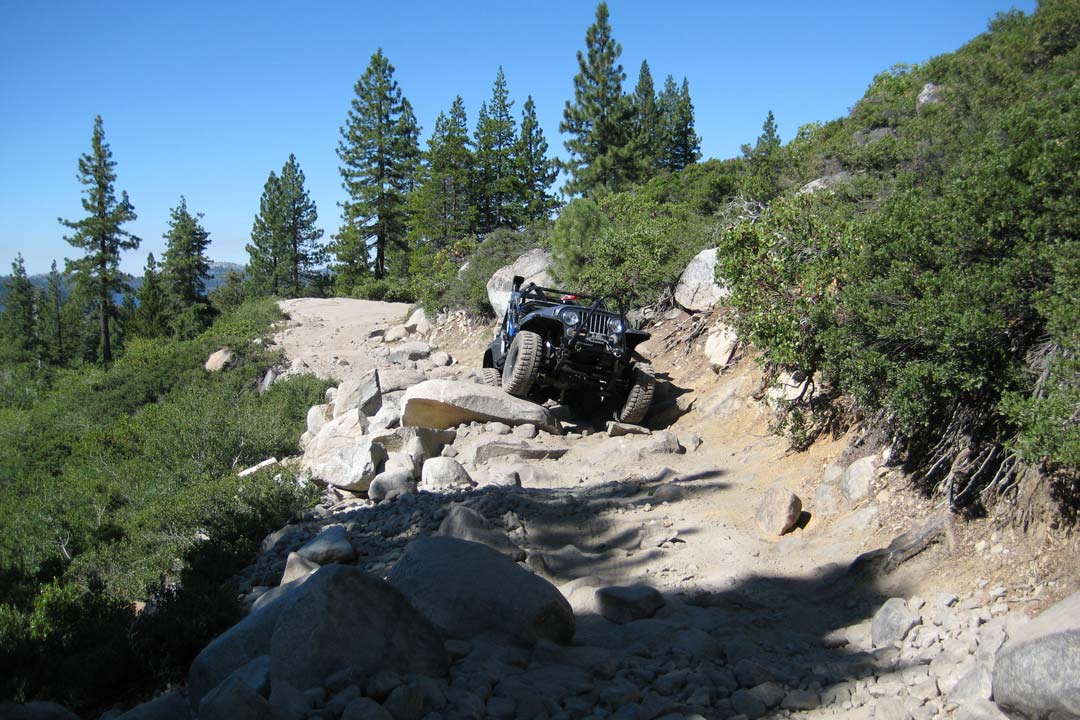
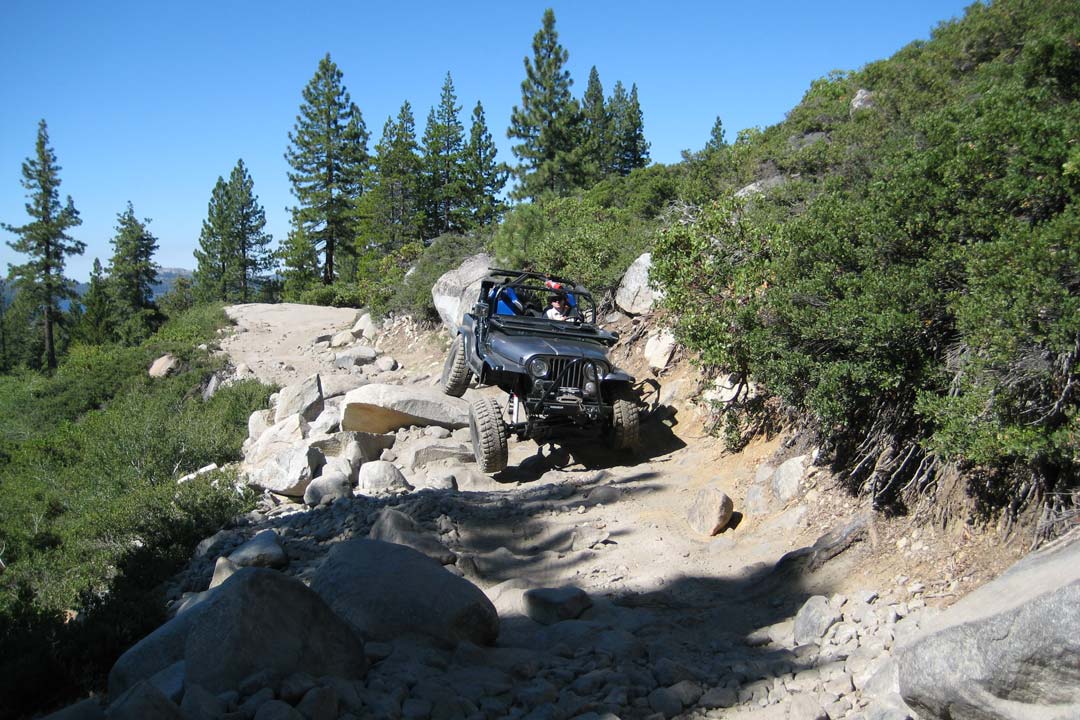
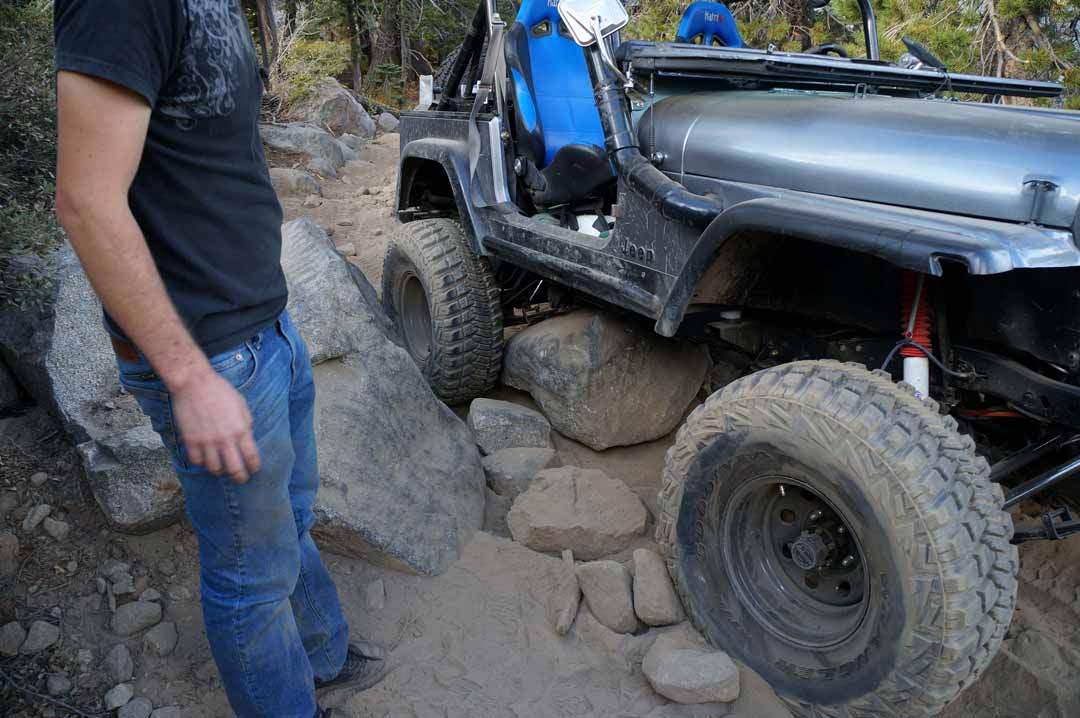
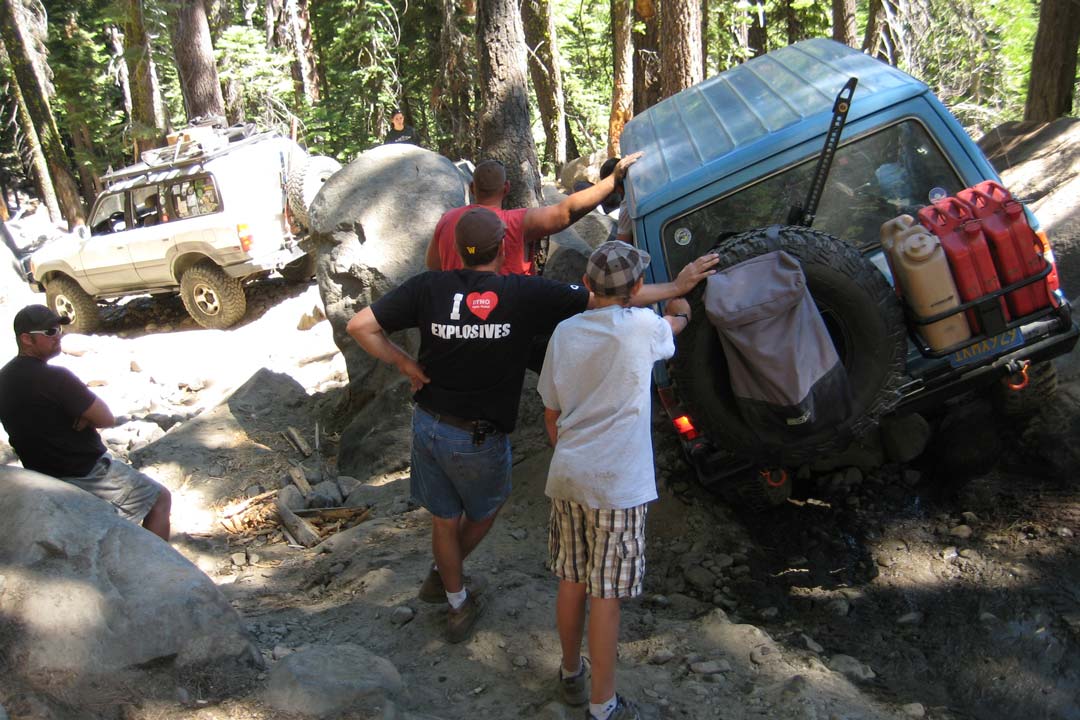
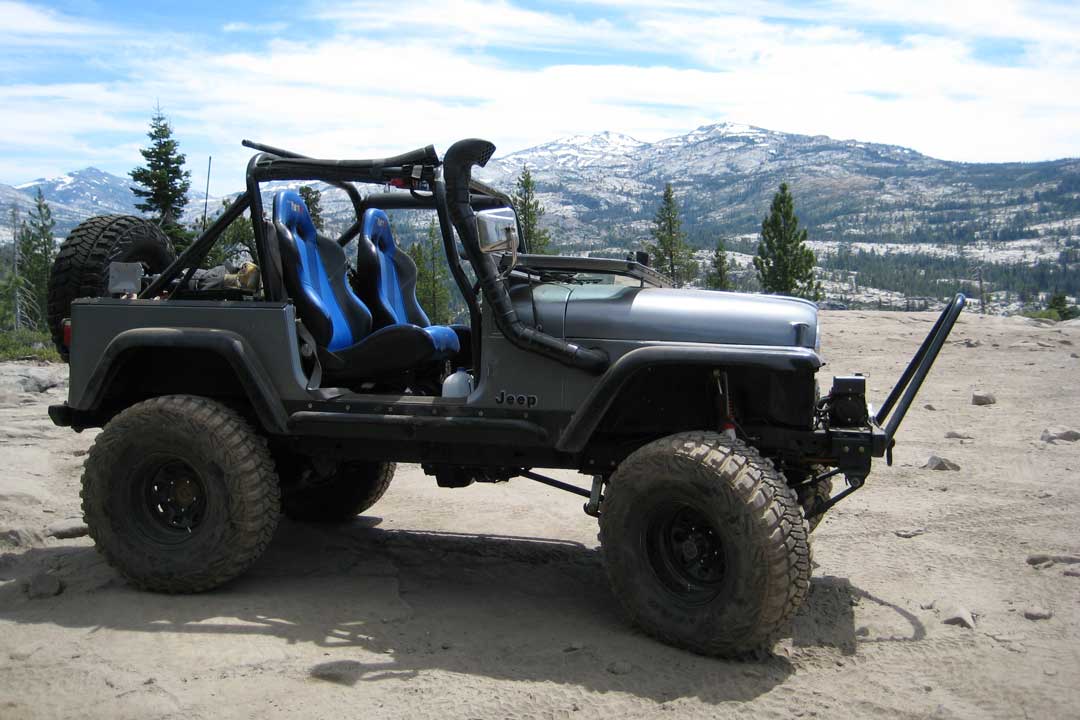
The Rubicon Trail presents drivers with 12 miles of difficult to extreme driving and rock crawling. Bypasses do exist for the most difficult sections, but at a minimum your vehicle should have 4WD, solid axles front and rear (or long travel independent suspension), 33” offroad tires, and at least one locker. 35” tires and two lockers will make your life much easier, even if you do take the bypasses. 37+ inch tires and two lockers are needed for the most difficult sections. Rock protection (rock sliders, steel bumpers) are necessary to avoid body damage. You will also need either a winch or a second vehicle and recovery gear to pull you out when you get stuck.
Gatekeeper: 39°00’19.4″N 120°18’29.4″W
Granite Bowl: 39°00’35.1″N 120°18’30.2″W
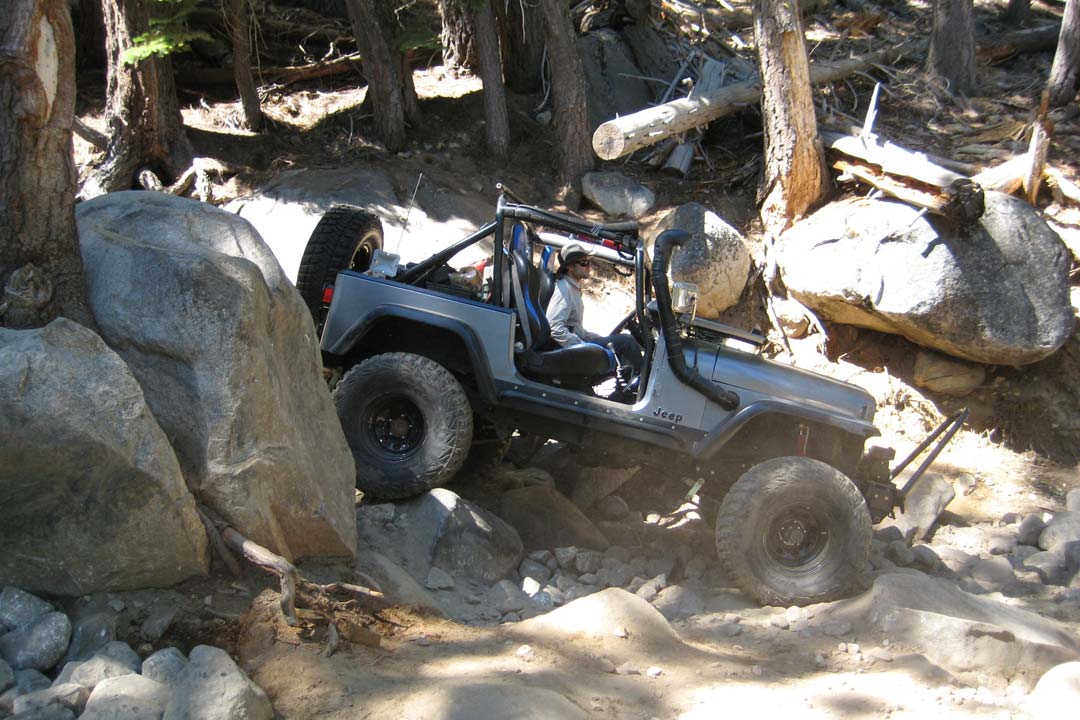
Little Sluice Box: 39°01’13.5″N 120°16’29.8″W
Little Sluice Bypass: 39°01’15.2″N 120°16’32.4″W
Old Sluice Box: 39°00’46.7″N 120°15’59.8″W
Old Sluice Bypass: 39°00’47.6″N 120°15’56.2″W
Buck Island Lake: 39°00’18.4″N 120°15’16.3″W
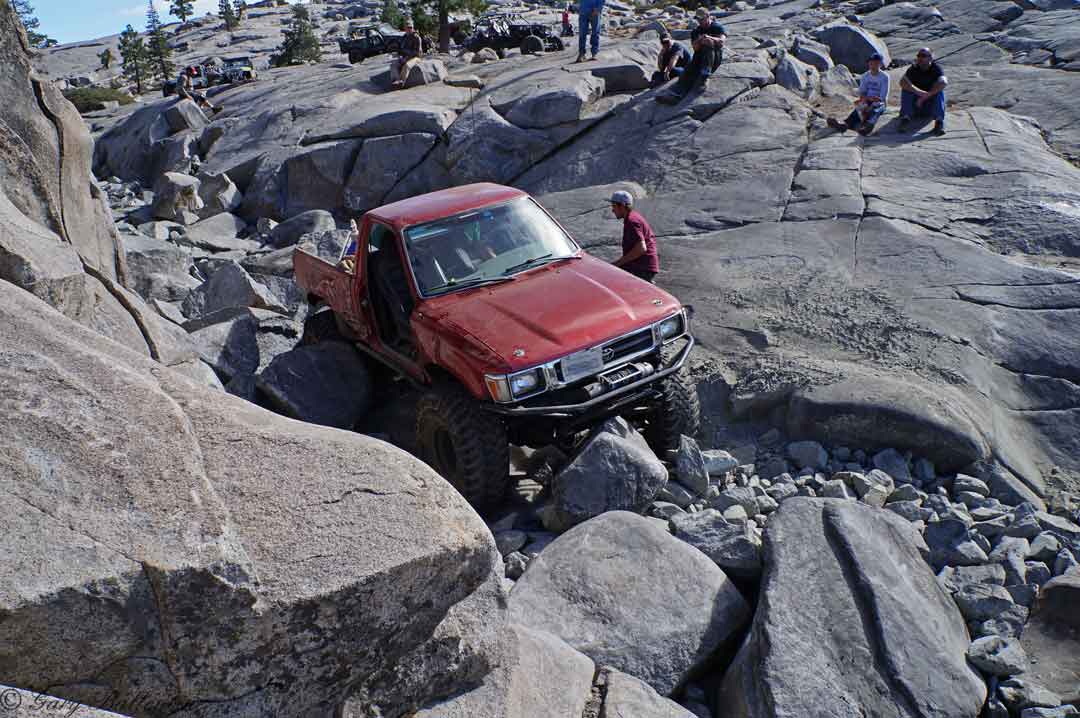
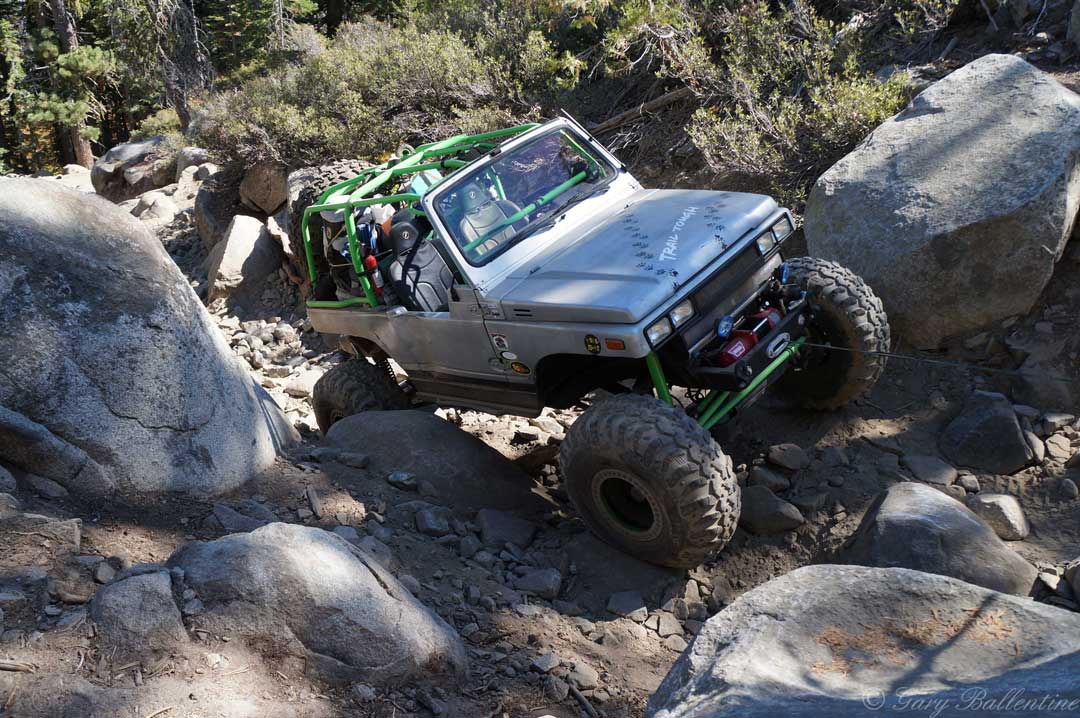
Big Sluice Box: 39°00’14.2″N 120°14’39.3″W
Rubicon Bridge: 39°00’45.3″N 120°14’41.5″W
Rubicon Springs: 39°01’04.9″N 120°14’47.6″W
Cadillac Hill: 39°01’50.9″N 120°15’07.4″W
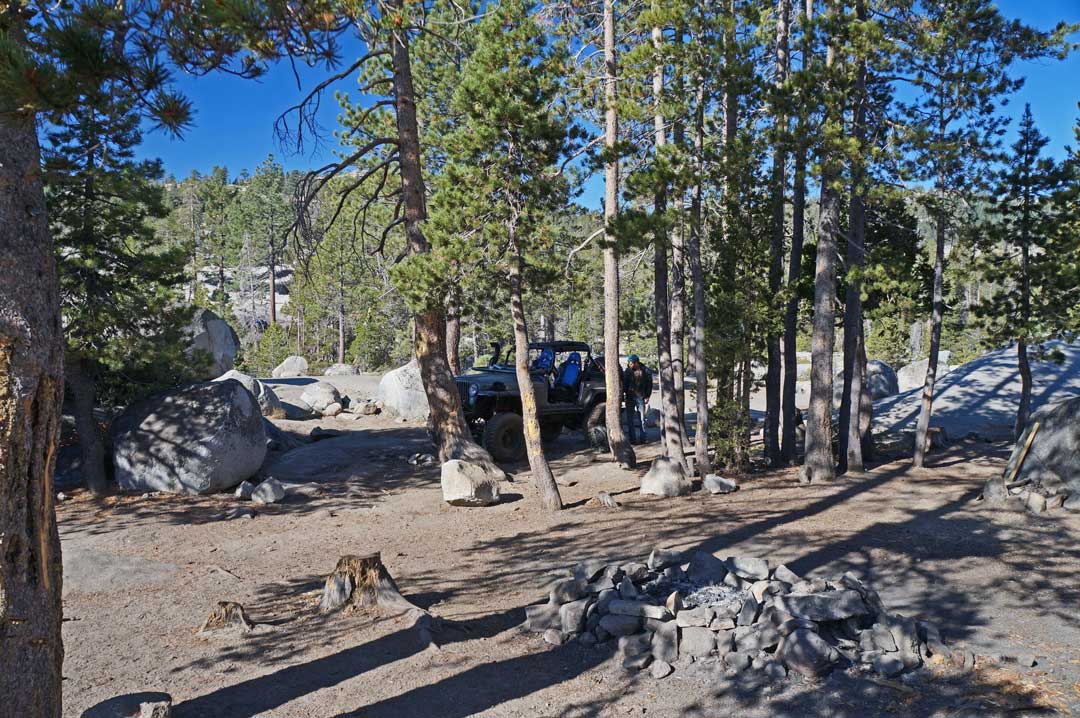
Tahoe staging area: 39°02’45.0″N 120°10’04.2″W
The Rubicon Trail has two official starting points on the West side, and a single terminus on the East side. The trail originally ran from Georgetown all the way to Lake Tahoe, but is now paved all the way to Airport Flat Campground. The most difficult part of the trail beings just past Loon Lake, where there is a staging area that is large enough to park trailers.
Fill up your tank in either Placerville or Pollock Pines off Highway 50, then head north on Ice House Road (8 miles east of Pollock Pines) for 24 miles. At this point, you either keep left to head to Airport Flat Campground and the road becomes Wentworth Springs Road, or you turn right onto Ice House Road and head towards Loon Lake.
If you’re going to Loon Lake, then it’s another 7.6 miles to the trailhead (which has trailer parking), and only 4.4 miles to Loon Lake Campground, which is a good place to spend your first night so you can start fresh in the morning. If you’re going to Airport Flat Campground, then you continue on Wentworth Springs Road and turn right/east onto a dirt road just before (south of) Airport Flat Campground. This dirt road is still technically Wentworth Springs Road, and it takes you all the way to Wentworth Springs, just a stone’s throw from the Loon Lake trailhead. Wentworth Springs is where you should camp your first night if you go this route.
If you hit the trail early in the morning, you will have plenty of time to make it to Buck Island Lake or even Rubicon Springs to set up camp. From there, it’s a straight shot to Lake Tahoe and you should be done by early Afternoon. The closest fuel is just north of the terminus near Homewood. Now spend your afternoon cruising Highway 89 around Lake Tahoe with the top down and doors off!
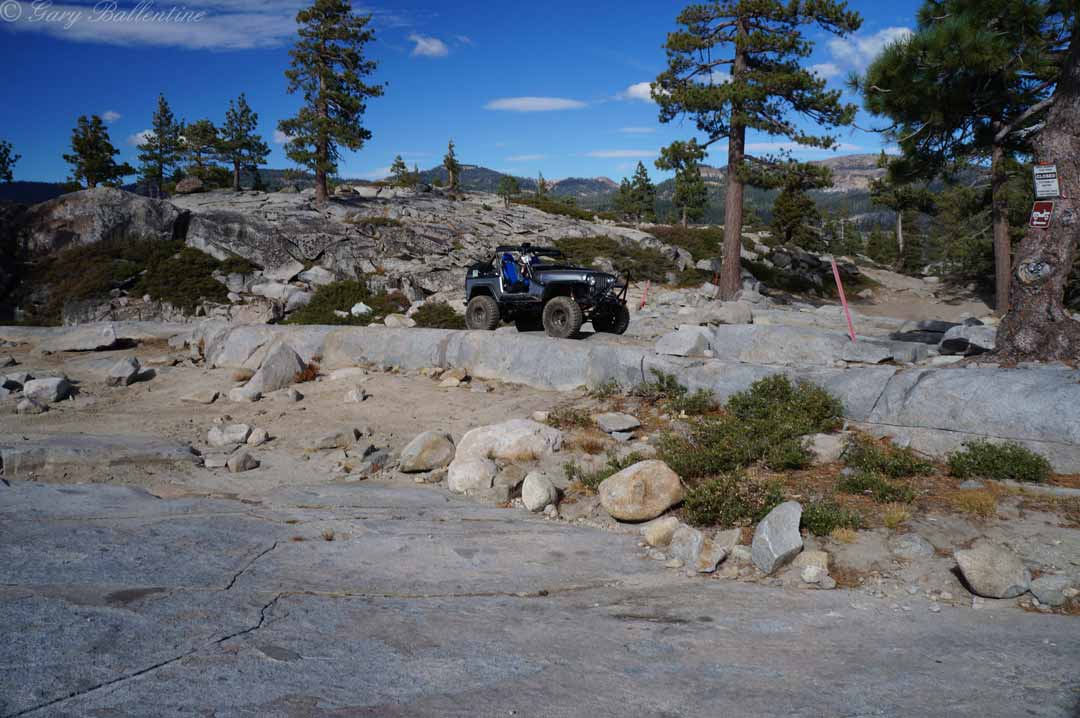
Shortly after entering the trail from Loon Lake, you reach the Gatekeeper. Or, rather, where the Gatekeeper used to be. It was blown up by the Forest Service in 2004 because it encouraged “unacceptable” trail use, whatever that means. There’s still some boulders you can drive between, or over, though.

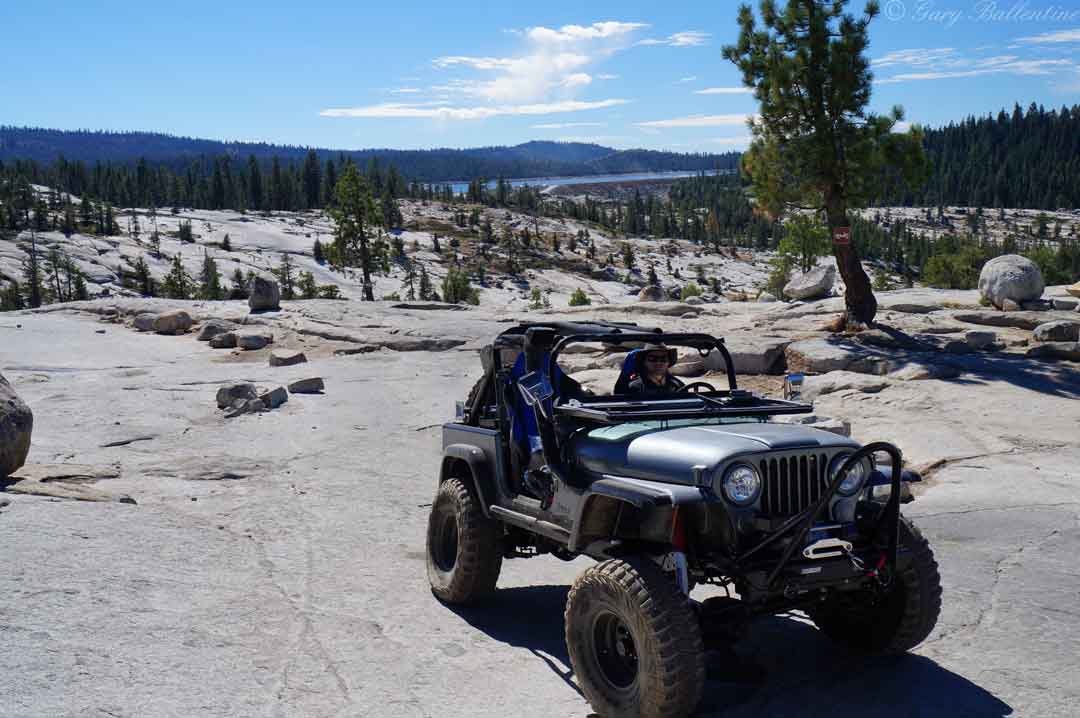
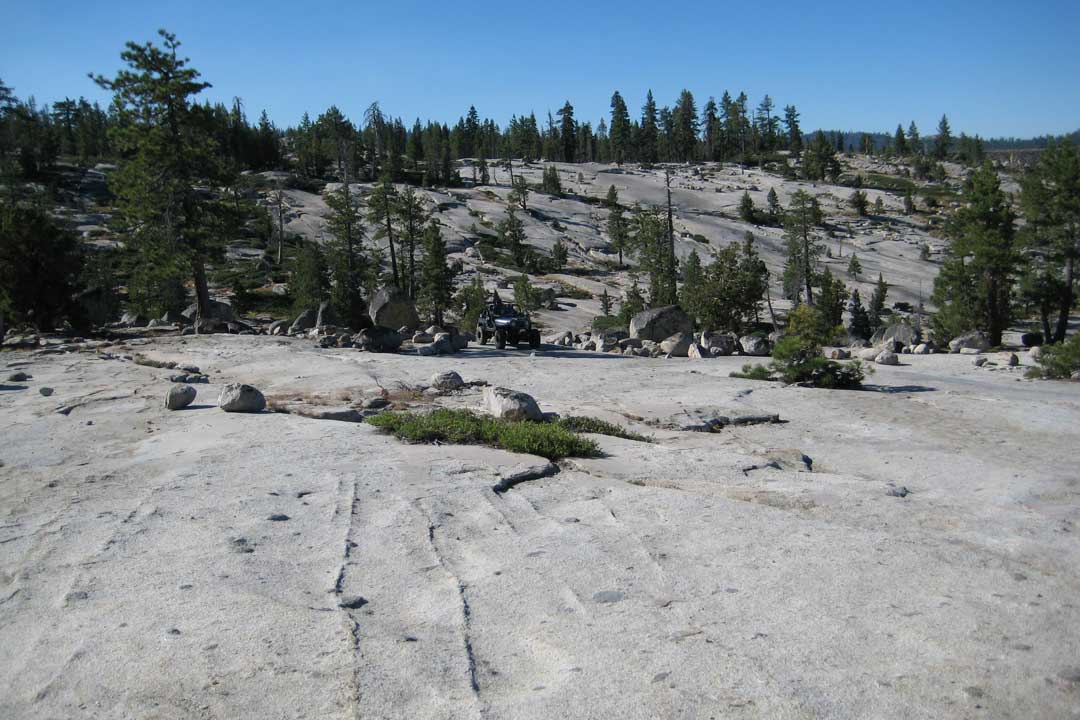
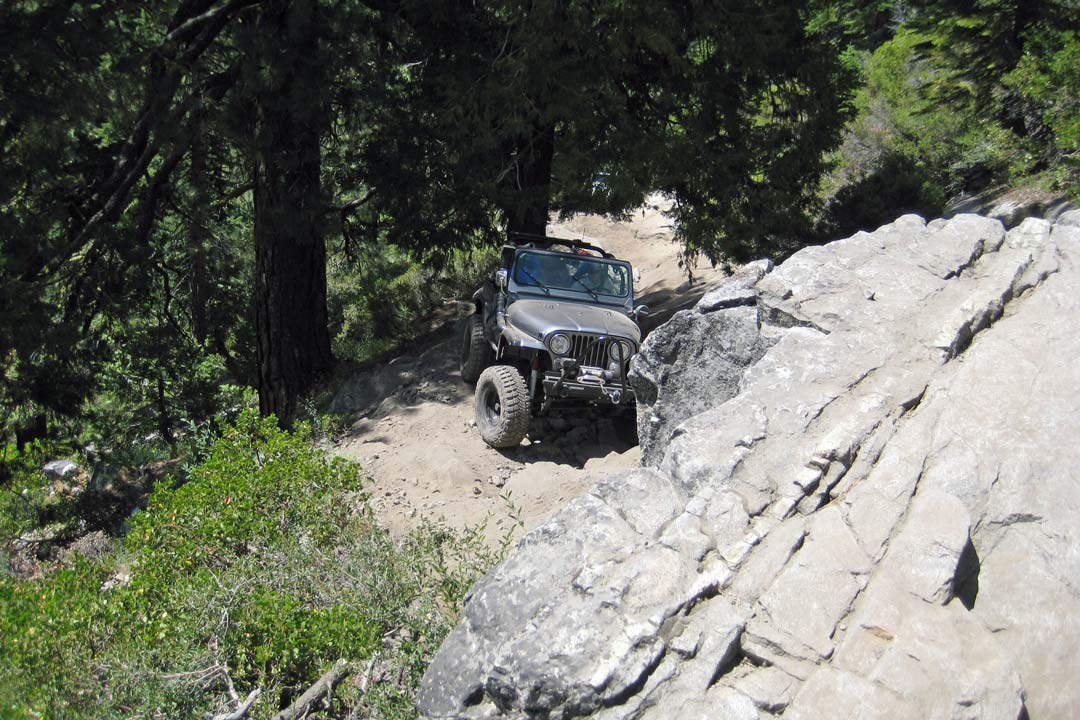
The Granite Bowl is a large, moderately graded, wide open slab of granite. Few trees grow here, and it’s easy to lose sight of the trail because there isn’t any soil. Just do your best to follow the black streaks on the rock and keep an eye out for the occasional trail sign. When you get to the top, turn around and take in the view of Loon Lake. This is the Sierra that we have all come to love.
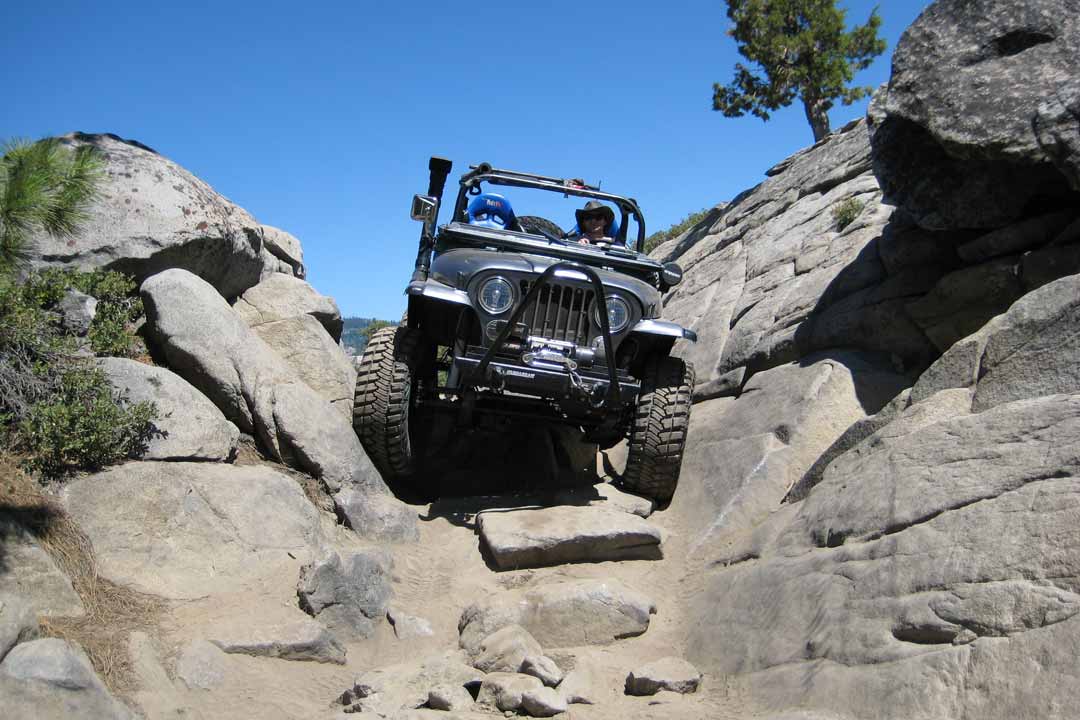
After Granite Bowl, there is a moderate climb up Walker Hill. This is where it starts to get fun. You will need your lockers for a few parts of it for sure, and at the top there is a giant notch in the granite just barely wide enough for a Jeep to fit between. Full width guys get to side-hill it.
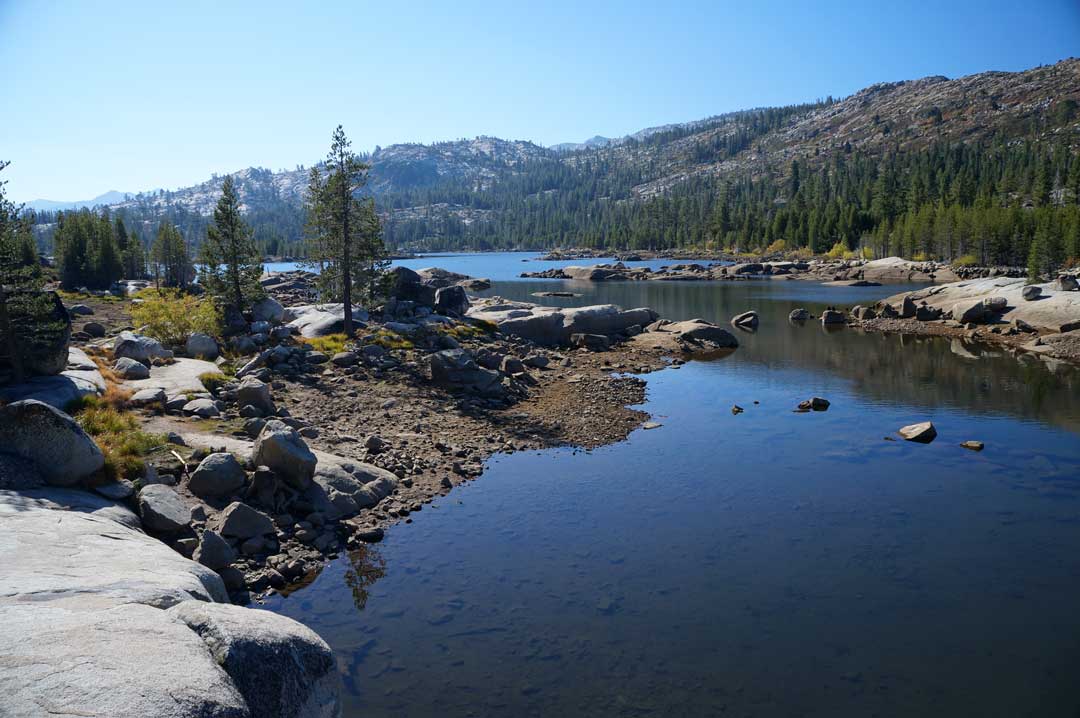
Easily the biggest and prettiest lake on the Rubicon Trail. It’s also just past the half way point, and makes for some great camping all along the north shore. Try to get there early, because it gets packed on weekends during peak season. It has fish, but you won’t be the only one to bring a pole, so don’t count on having trout for dinner.
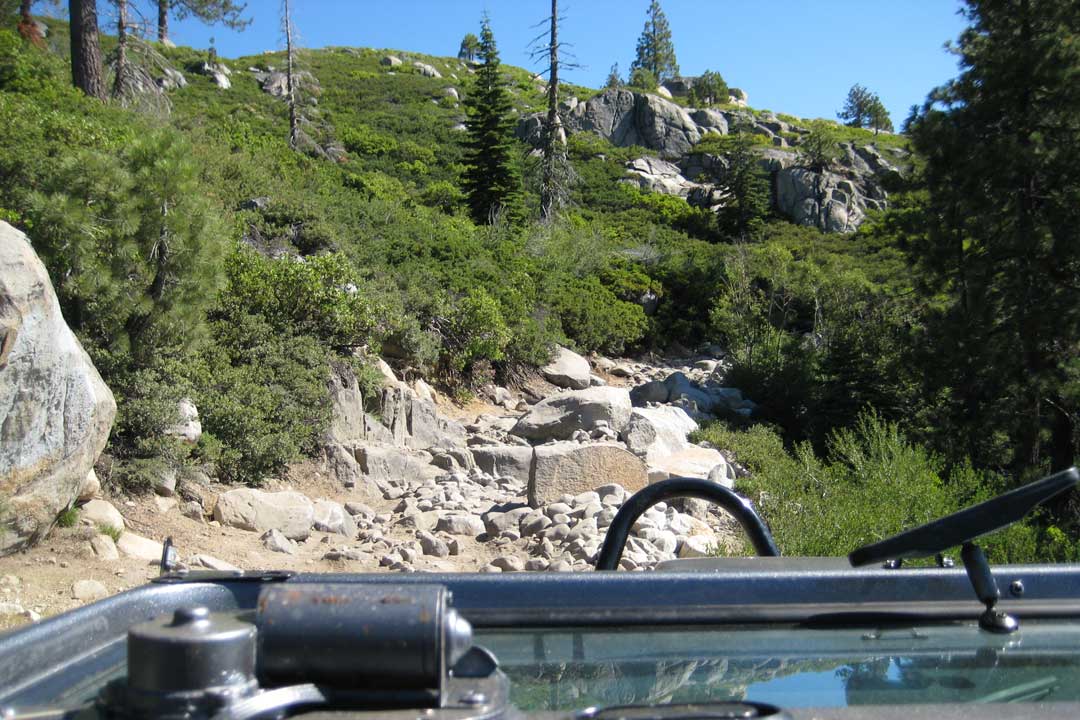
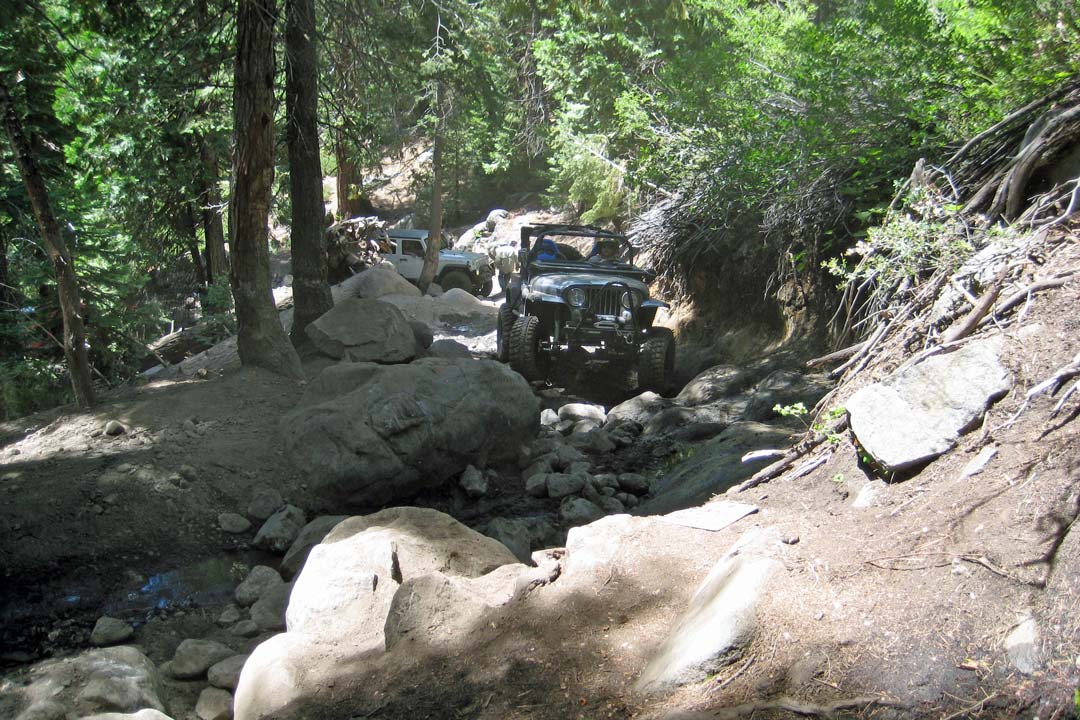
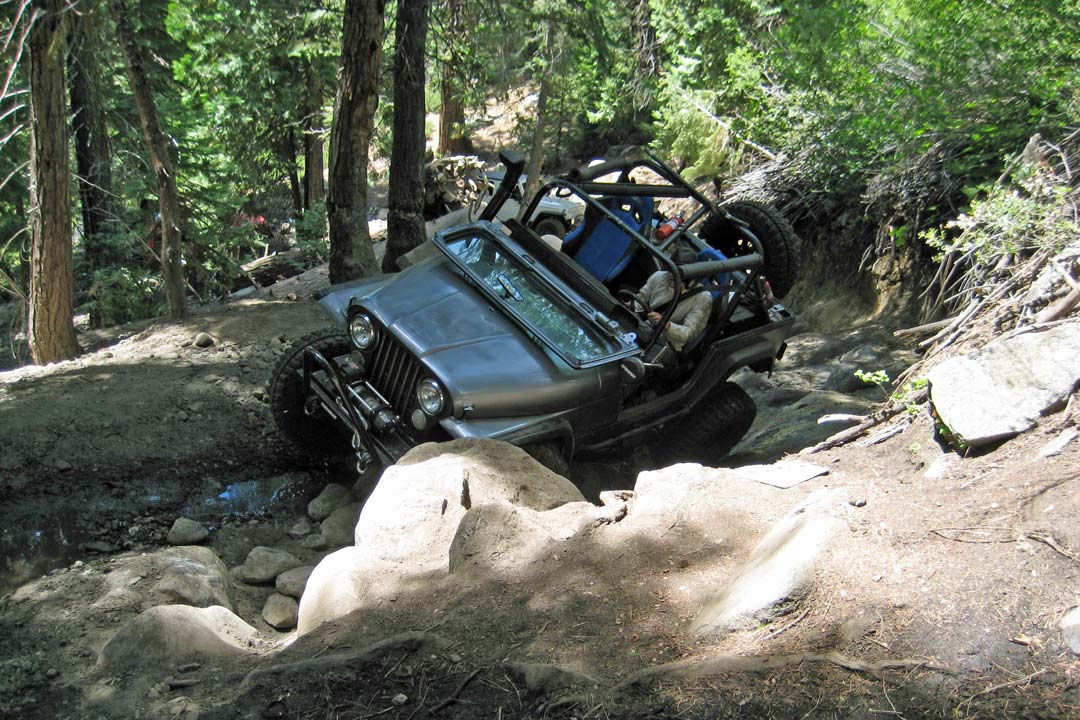
Start off your morning with Big Sluice, which is just past Buck Island Lake. It’s a fun section of trail that is easier than Old Sluice but still requires at least one locker and careful driving. One section is a bit of a squeeze, but really only gives trouble to full-width rigs. Watch out for broken down and stuck vehicles, this is the hardest section that doesn’t have a bypass.

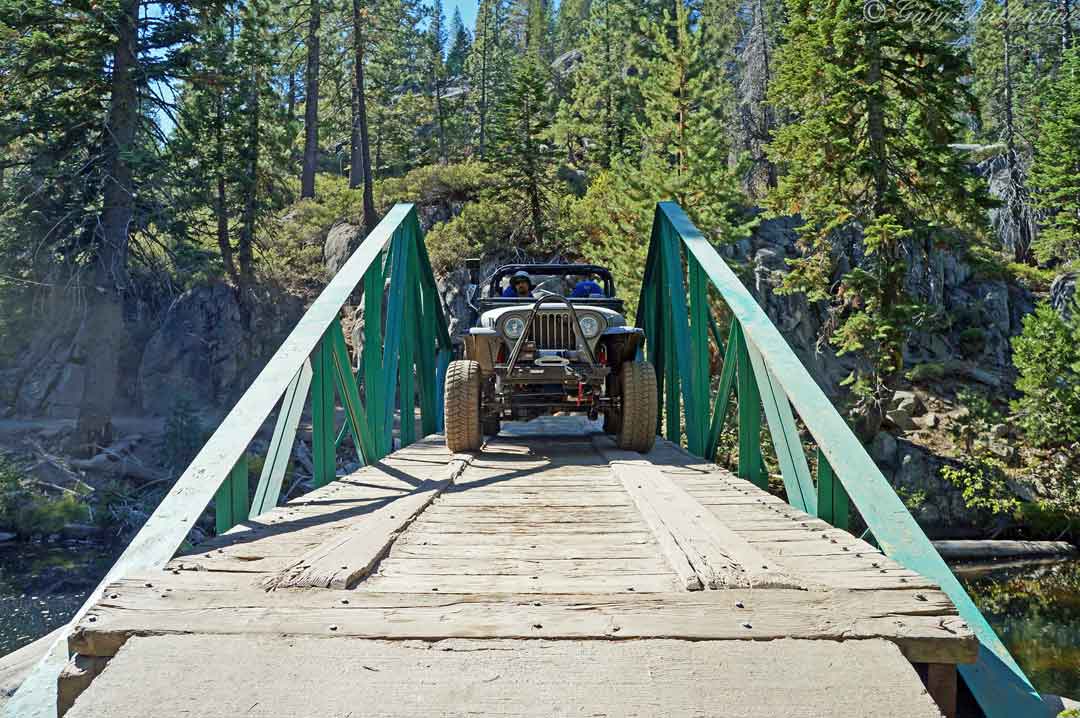
Rubicon Springs Bridge is a convenient landmark, and the resort a short ways past the bridge is a fun place to relax for a day or camp and share stories. Just past the resort there is great camping along the river, but be prepared to have company.
The final obstacle of the Rubicon is a somewhat gnarly hill climb that throws its worst at you right off the bat. There is a rock garden at the bottom, followed by a sharp switchback up a steep, rocky rollover. Pick your line carefully, because there isn’t much room for error here.
This marks the completion of the final obstacle of the trail and by far provides the best view in the area. Odds are you’ve seen pictures of people’s Jeeps parked up here, and for good reason. Take a break, let your engine cool after the climb up, and enjoy the view. You made it!
The last five miles to Lake Tahoe can vary wildly in terms of conditions, and does so with the time year due primarily to snowmelt. In late August, it’ll be dry and easy going, but still require 4WD. In the early season, or during wet years, there can be several flooded sections of trail that make things slippery. Towards the end is the staging area, where dedicated rock crawlers leave their trailers and tow rigs. Push on a little further, and you’re at one of the biggest, clearest high-elevation lakes in the world. Leave the doors off and enjoy the drive back! The trip doesn’t have to be over yet.

Hi! I’m Gary. I’m the mountain-enthusiast and gearhead behind Granite Cliffs. My goal is to provide the inspiration and information you need to go outside and explore. This is my Adventure Portal.