How to Start Planning Your John Muir Trail Through Hike

It’s Easy! Just Follow These Steps

Want to hike the John Muir Trail but don’t know where to begin? This page has you covered! Preparing for such a long hike can seem overwhelming, but as long as you take care of these basic prep categories, you will have nothing to worry about.

Pick a Date

Pick a range of dates that work for you, and don’t request time off work until you get your permit situation squared away. It’s a good idea to set aside 3 weeks for travel and hiking, but odds are you won’t get the 3 week window you want. Ideally, you will begin applying in February (170 days in advance) and continue applying for departure dates ranging from early July through early September.

Get a Permit

The John Muir Trail is subject to a highly competitive permitting system. You can apply for a permit by following these steps here, but sometimes luck is against you and you just can’t snag one. In that case, you should consider alternative starting points that still let you hike the entire trail or at least most of it. If this doesn’t sound appealing, or if you think the trail might be too crowded, check out these alternative hiking options.

Choose Your Gear

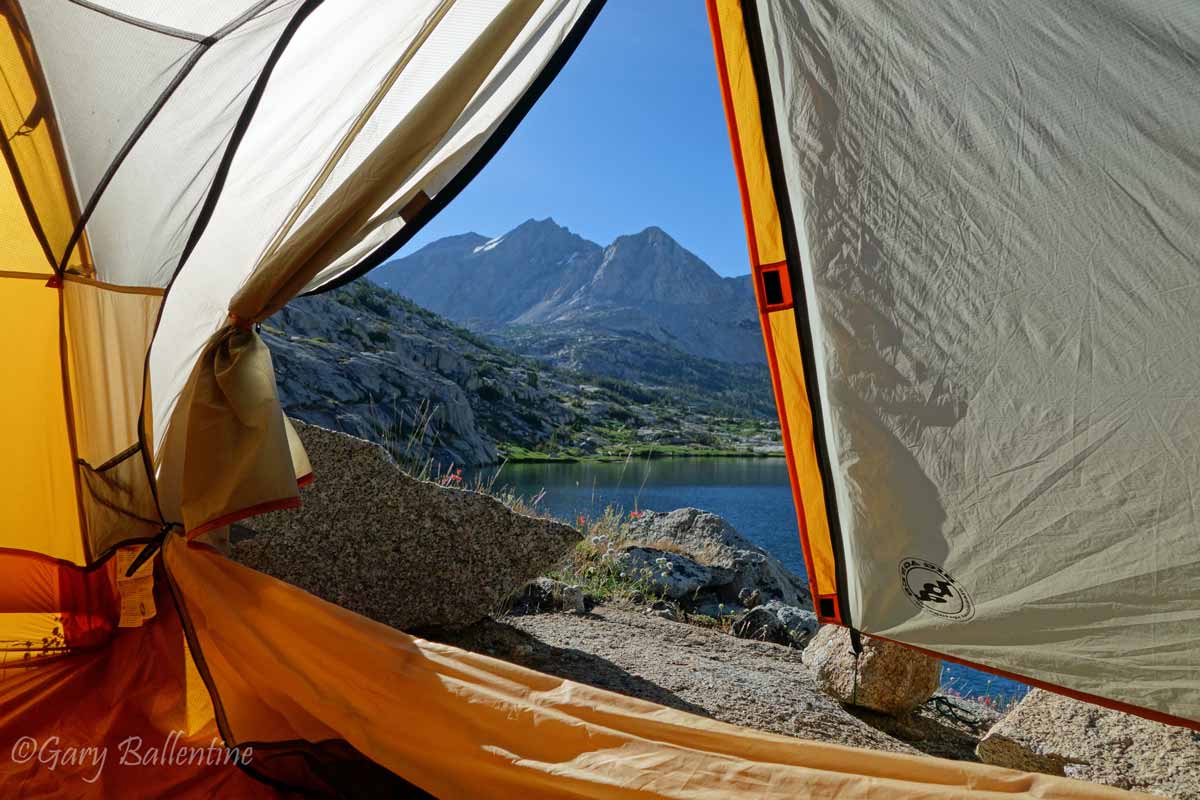
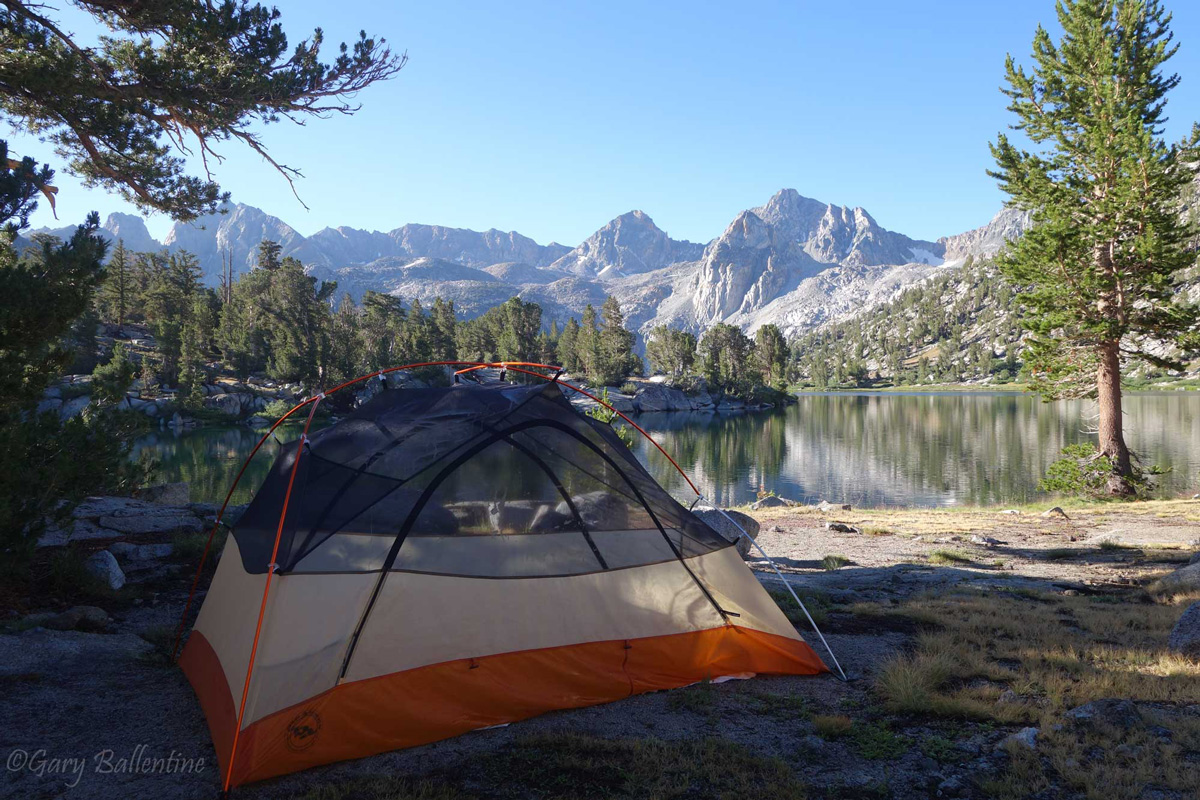
Gear selection can be one of the more fun parts of getting ready for the trail, but it can get expensive fast. This gear guide and this pack weight guide will help you decide what to bring, and you should fine-tune your setup in the months prior to leaving as you test it out on shorter hikes.

Train For It

The John Muir Trail traverses 221 miles of high elevation terrain, crossing 11 mountain passes, 6 of which are over 11,000 feet, then summits Mt. Whitney at 14,505 feet. Due to time constraints and limits on how much food you can physically carry, this means hiking anywhere from 10-20 miles per day. When you take these factors into consideration, it becomes clear that hiking the John Muir Trail is no easy task. You should exercise regularly beginning several months before your departure date to ensure that you are able to complete the trail without injury or exercise-induced altitude sickness. Hiking with a heavy pack on, even if it’s just around your local park, is a great way to do this.

Test Your Gear

It’s important to know that your gear will work for you, especially your shoes. Toe and heel blisters are the most common injury on the trail and can be debilitating. It’s important to hike in your chosen shoes or boots extensively before your JMT hike. Start off with shorter hikes to break them in, but try to do at least one 30-40 mile trip to make sure your feet will be OK over longer distances. Blisters have a way of creeping up on you around the 30-40 mile mark.

It’s also important to adapt your body to your specific footwear, because different shoes will exercise and stretch your muscles and tendons differently. Shoes with little to no heel-to-toe drop, such as Altras, will require your Achilles tendon to actually become longer if you are used to shoes with even slightly elevated heels. This applies anytime you switch footwear, as most of them have different heel heights, and the last thing you want to deal with on the trail is a ruptured Achilles tendon (been there, done that).
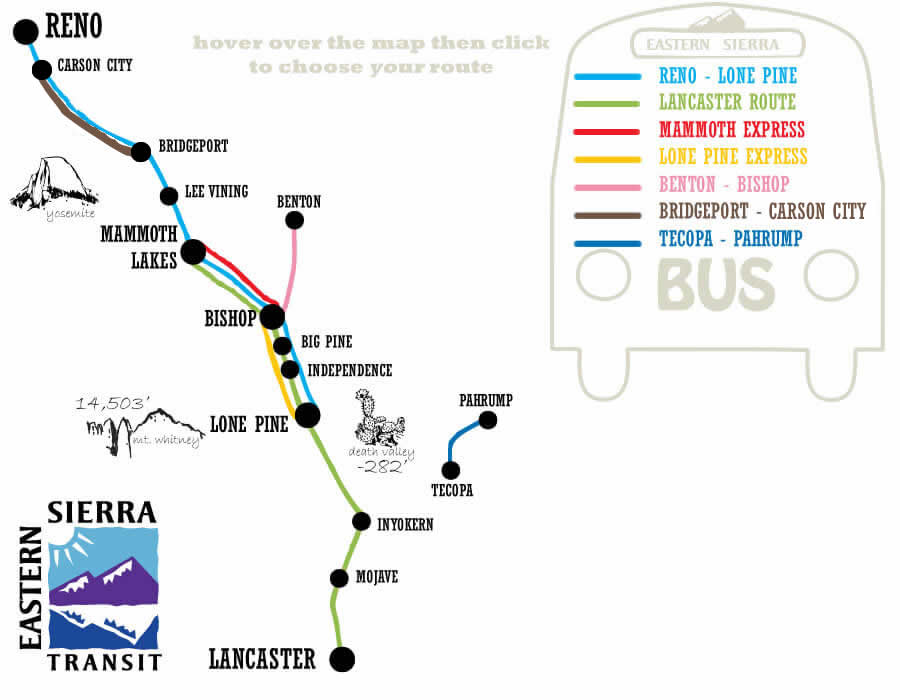
Make Travel Plans

Because the John Muir Trail is a through hike and not a loop, you will be exiting the trail 220 miles from where you started. This means you need to either get a ride, bring two cars, or pay for a shuttle. You can read all about the different options for travel and shuttling here. Flying in from out of state? Try to get a plane ticket to the Mammoth airport. If this doesn’t work, fly into Reno. The same services that shuttle you from one end of the trail to the other will take you to/from these airports.

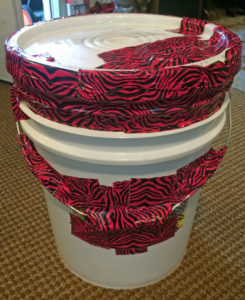
Prepare Your Resupply

Carrying 3 weeks of food is impractical, if not impossible, which means you are going to need to resupply at some point on the trail. Various resupply options and services exist, and you can read about them here. Whatever you do, don’t wait until the last minute to set this up. For most services, you will need to mail out your resupply no later than two weeks before your earliest anticipated pickup date.

DO IT!

It’s actually happening. You got your permit, you bought all your gear, and you’ve been preparing nonstop for 6 months. You leave tomorrow. You have butterflies in your stomach. You’re second guessing yourself. Stop it! This is a once in a lifetime opportunity for most people, and it will be life-changing. Just remember to pick up your permit either the day before your start date, or by 10AM the day of. If you are running late, call the ranger station and let them know so they don’t give your permit to someone else. They’ll hold it until closing if you hit traffic or your flight is delayed.

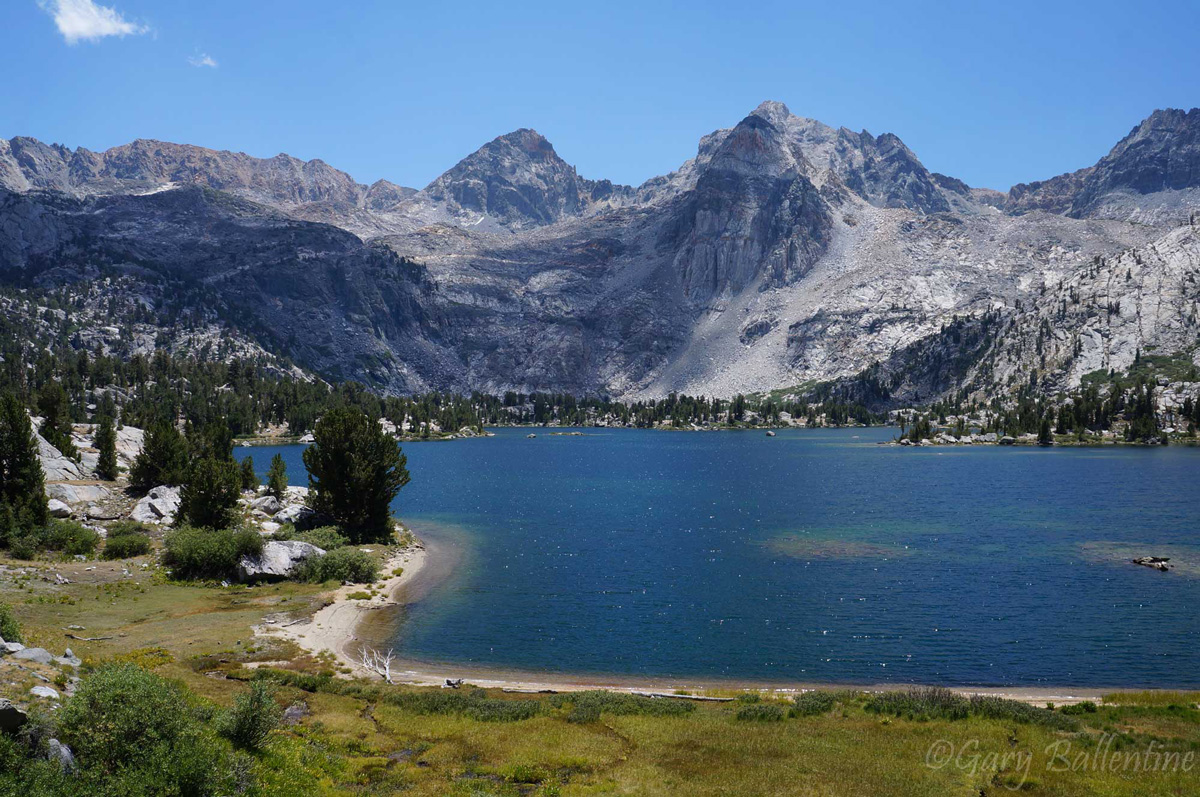
When you finally put boots on the ground, stop for a minute and look around. Breathe deep. Smell that? It’s the clean air and Christmas tree scent of the High Sierra. Today you embark on the journey of a lifetime. Stretch, take your time, and start walking. You have 220 miles of some of the most intense mountain scenery anywhere in the world still ahead of you.

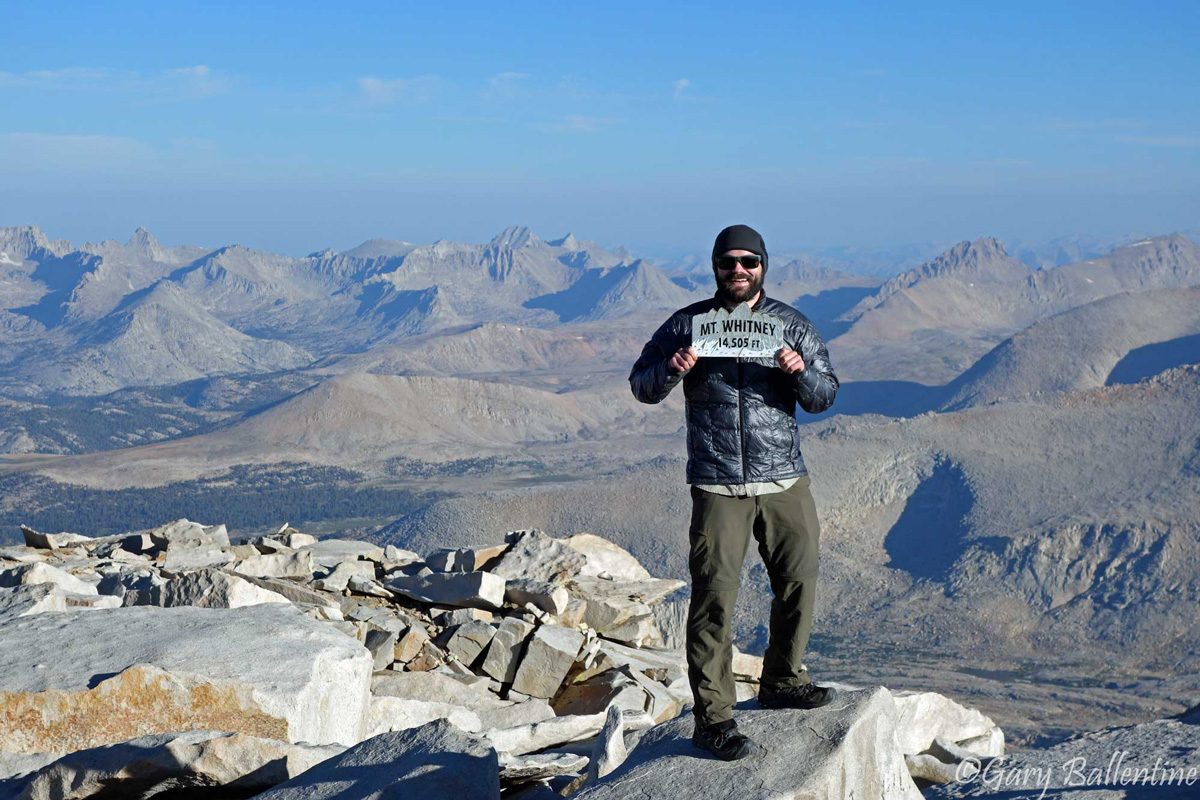
Hi! I’m Gary. I’m the mountain-enthusiast and gearhead behind Granite Cliffs. My goal is to provide the inspiration and information you need to go outside and explore. This is my Adventure Portal.