A Guide to Hiking the Big SEKI Loop
The Big SEKI Loop is one of the longest, non-intersecting High Sierra loops in existence and remains entirely within Sequoia/Kings Canyon National Park (aka SEKI) in California. It is not an official trail, but rather a series of connected trails that circumnavigate the main Sierra Crest and Great Western Divide. The loop can be accessed from both the eastern and western sides of the Sierra and provides one of the greatest backpacking opportunities in North America, being rivaled in beauty only by the John Muir Trial.
Location Sequoia/Kings Canyon National Park
Trailheads Road’s End or Onion Valley
Length 131-155 Miles
Duration 9-13 days (average)
Difficulty Difficult
Season July through September (average), conditions permitting
Elevation 5,050 to 13,180 feet
Total Passes 7
Foot Traffic Light-Moderate
Weather Often Mild but Highly Variable
Permit Required Yes
Recommended Maps Sequoia & Kings Canyon
What Hiking the Big SEKI Loop is Like
The Big SEKI Loop is a lesser known but stunning loop that consistently takes your breath away, both literally and figuratively. Regardless of where you begin or which direction you hike in, you face climbing a steep and difficult pass your first day, giving you incredible views while setting the tone for the remainder of the hike.
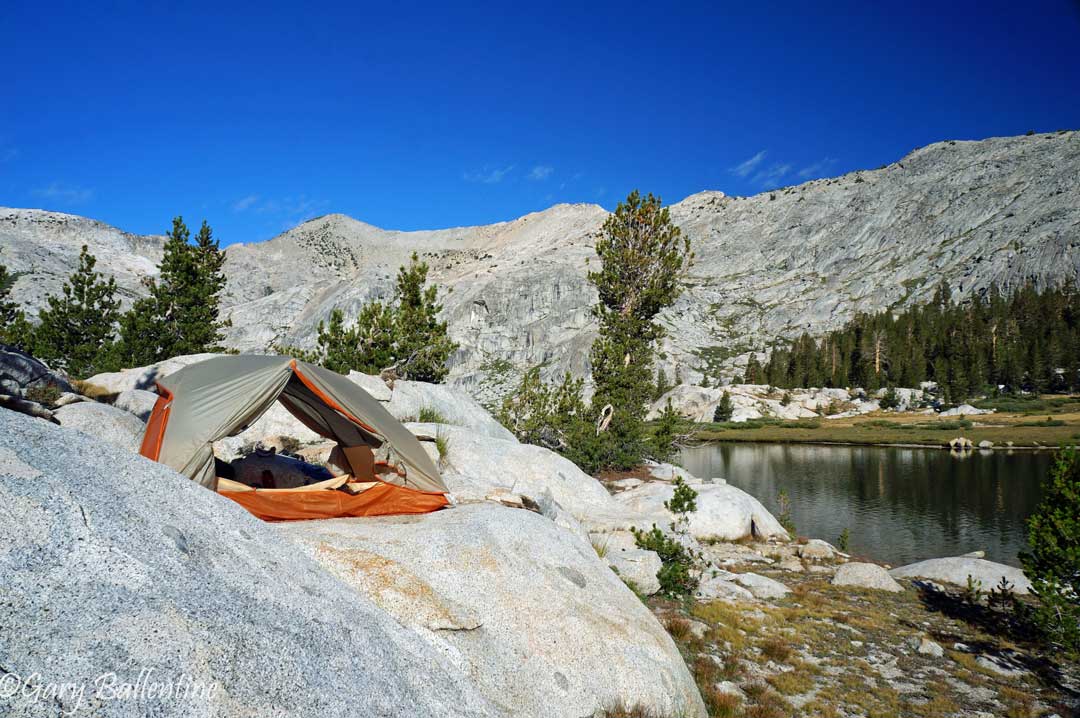
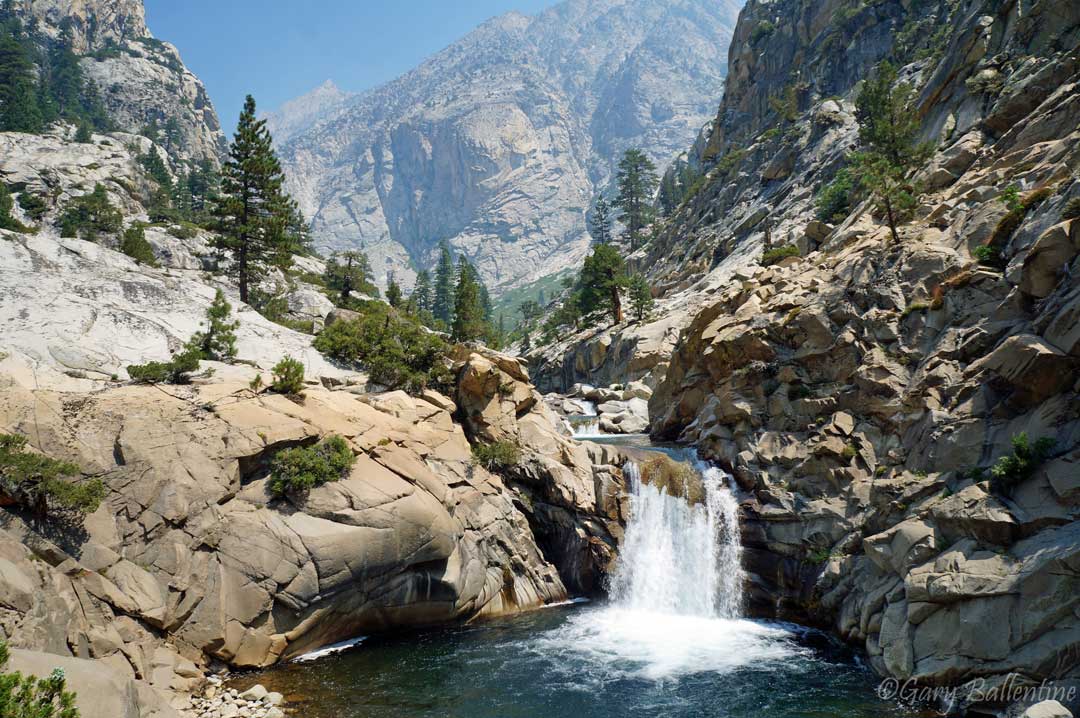
Along all 155 miles you are met with constant elevation change, alpine scenery and boreal forest, high altitude passes, crystal clear alpine lakes, granite peaks, lush meadows, and flowing rivers. 57 miles of it overlap with one of the most incredible sections of the John Muir Trail, and those that don’t are equally beautiful but not nearly as crowded. Solitude is almost always to be found along the less-traveled sections of this loop.
How Long Does it Take?
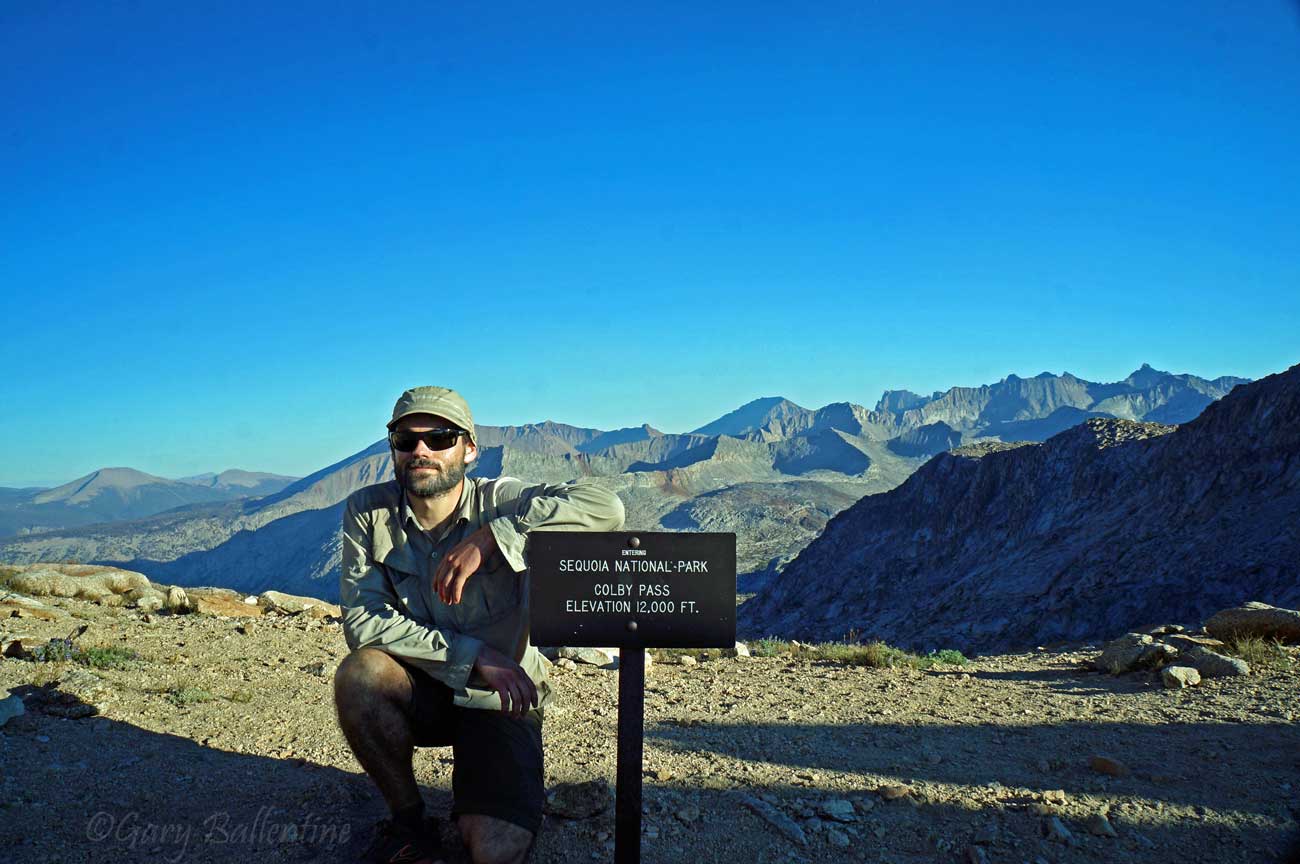
Two options exist for crossing the Great Western Divide on the southern section of the loop, either at Colby Pass or Kaweah Gap and then Elizabeth Pass. If you go over Colby Pass, the loop is only 131 miles and overlaps most of the Circle of Solitude. If you go over Kaweah Gap and Elizabeth Pass, you will travel a total of 155 miles and complete most of the High Sierra Trail. Both sections are equally beautiful, so ultimately you should pick your route based on how long you want your hike to be.
The Big SEKI Loop might be shorter than the John Muir Trail, but the extreme steepness of several sections and its consistently high elevation arguably make it more difficult. Most hikers in good shape will complete the trail in 9-13 days.
When Should I Hike the Big SEKI Loop
The best time to hike the BIG SEKI Loop is usually early July through the end of September, but this can vary wildly from year to year due to snowpack. Nearly all of the trail is very high elevation and receives significant winter snowfall, with some sections remaining buried 9 months or more each year. During normal years, the trail becomes passable without significant snow travel in early July, but in heavy snow years, long stretches remain buried until August.
Early season conditions bring endless wildflowers, fewer people, wet meadows, deep water crossings, and mosquitos that will blot out the sun. By late season, almost all of the snow has melted, the mosquitos have all died, the crowds have mostly gone, and the wildflowers have withered away. Mid-season is arguably the best time to hike, where you get a mix of early and late season conditions.
Potential Hazards: The long route over Kaweah Gap has several water crossings, some of which can be deep in the early season. The short route over Colby Pass has fewer water crossings, but the north side of the pass is incredibly steep and tends to hold snow well into summer. Regardless of route, you will need to cross Palisade Creek in Le Conte Canyon, which is challenging when early season conditions prevail.
Current trail conditions can be found here.
Where to Begin and Which Direction to Hike In
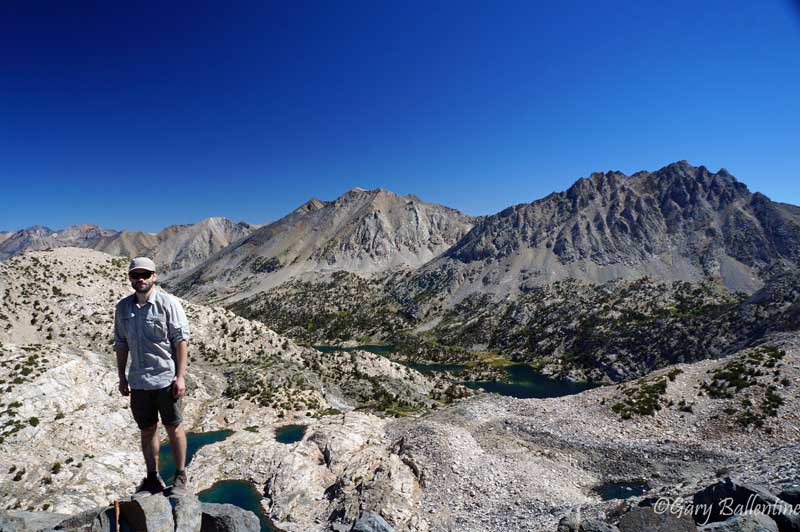
The Big SEKI loop traditionally begins at Road’s End in Kings Canyon National Park at just 5,050 feet and promptly climbs over 5,000 feet in the first 10 miles. If you hike clockwise, you reach Granite Pass at 10,673 feet in just 11.2 miles. About a half mile before the pass and a quarter mile off trail is Granite Lake, which offers excellent camping just below the prominent alpine ridge known as Comb Spur.
If you hike counter-clockwise, you go over the heavily forested Avalanche Pass at 10,013 feet and 8.5 miles in. Good camping is available along Sphinx creek about 2 miles before the pass and again 5.7 miles past it, forcing you to choose between either a short or gruelingly long first day. Both Avalanche Pass and Granite Pass are strenuous climbs from Road’s End.
The trail can also be accessed from Onion Valley in the East, beginning at 9,185 feet and climbing over Kearsarge Pass your first day at 11,845 feet and 4.7 miles in. Excellent camping is available at Kearsarge Lakes just beyond the pass, as well as at the junction with the John Muir Trail, Vidette Meadow just south of this junction, and Charlotte Lake a couple miles to the north. A distinct advantage of beginning here is that you get to see Kearsarge Pass and Bullfrog Lake, but this area is crowded and it adds 7.3 miles to your hike.
Weather on the Big SEKI Loop
As with the rest of the Sierra Nevada, the Big SEKI Loop is subject to wildly changing weather that can vary from warm and sunny to freezing temperatures with rain, lighting, and even snow. Conditions are largely unpredictable. You might have warm sunny weather for the entire hike, and you might see thunderstorms every afternoon. To read more about weather in the High Sierra, check out this article.
How to Get a Big SEKI Loop Permit
What Gear Should I Bring
Gear requirements for the Big SEKI Loop are exactly the same as for the John Muir Trail, which is honestly the same as for most High Sierra treks. Check out this guide for a complete list of gear, and check out this guide for help choosing footwear. Not sure what the best way to filter water is? Check out this water treatment guide. My top food choices for backpacking are explained here
What to Expect
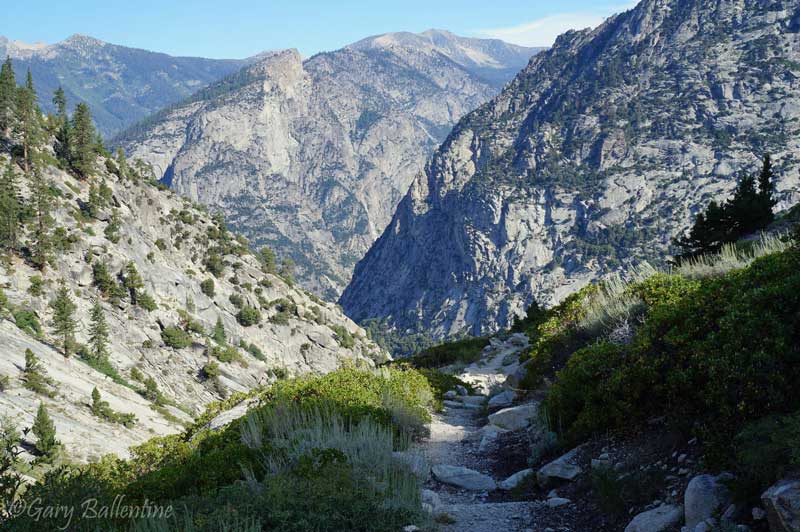
Beginning at Copper Creek in Roads End, you ascend immediately up the steep southern rock walls of North Dome, weaving in and out of the much needed shade given by giant Ponderosa pines. The trail levels out somewhat as it traverses Copper Creek, then it climbs steeply again towards Granite Basin.
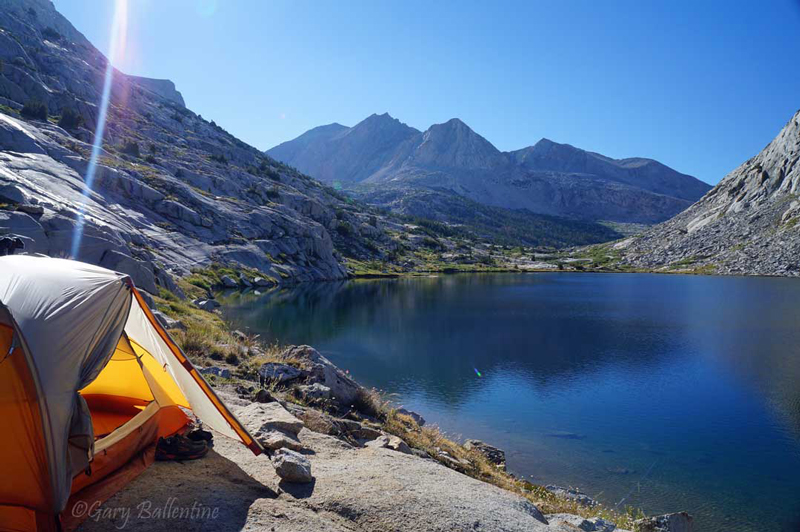
From here the trail plateaus, remaining relatively easy going until about a mile before the pass. Granite Lake is not visible from the trail, but is just a quarter mile to the West through the trees and is a great place to spend your first night.
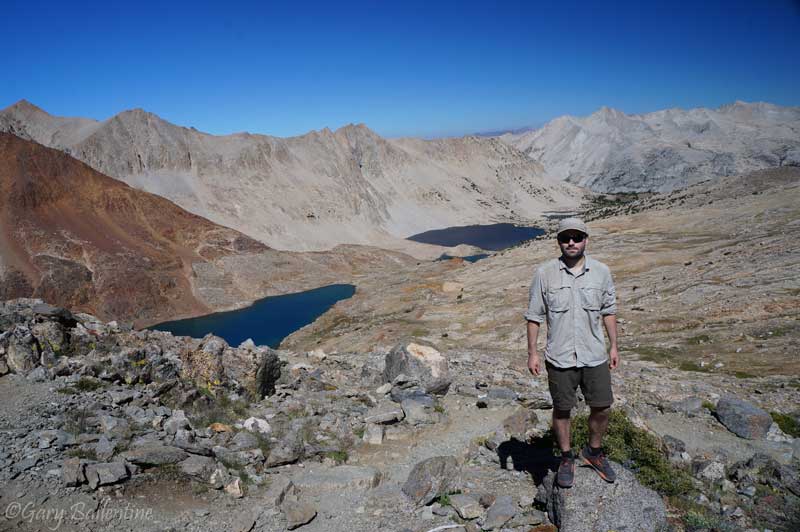
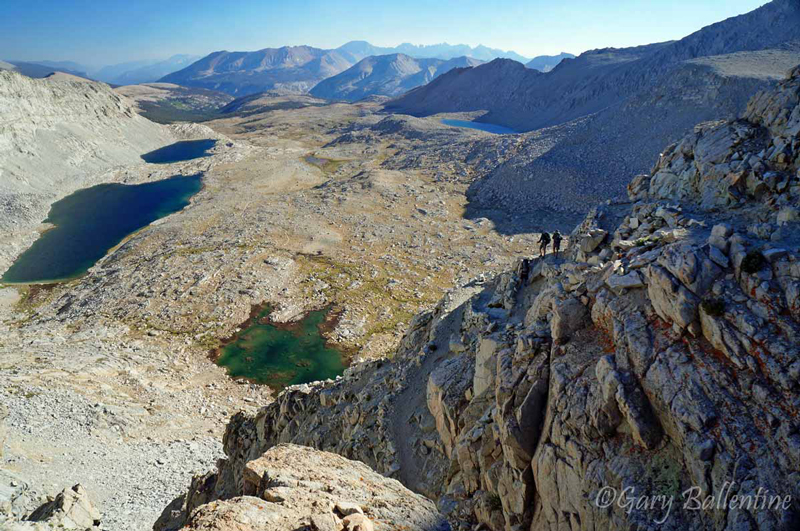
From Granite Pass you can see the aptly-named Great Cliffs to the north, and if you detour to Windy Ridge or Windy Peak, the views are even better. If you’re feeling adventurous, climb State Peak and spend the night at State Lakes—the view is out of this world.
Be sure to fill up on water at the east fork of Dougherty Creek though, because the next 7 miles are steep, hot, and dry as you descend to the middle fork of the Kings River and Simpson Meadow. From here, water is plentiful again and camping is great.
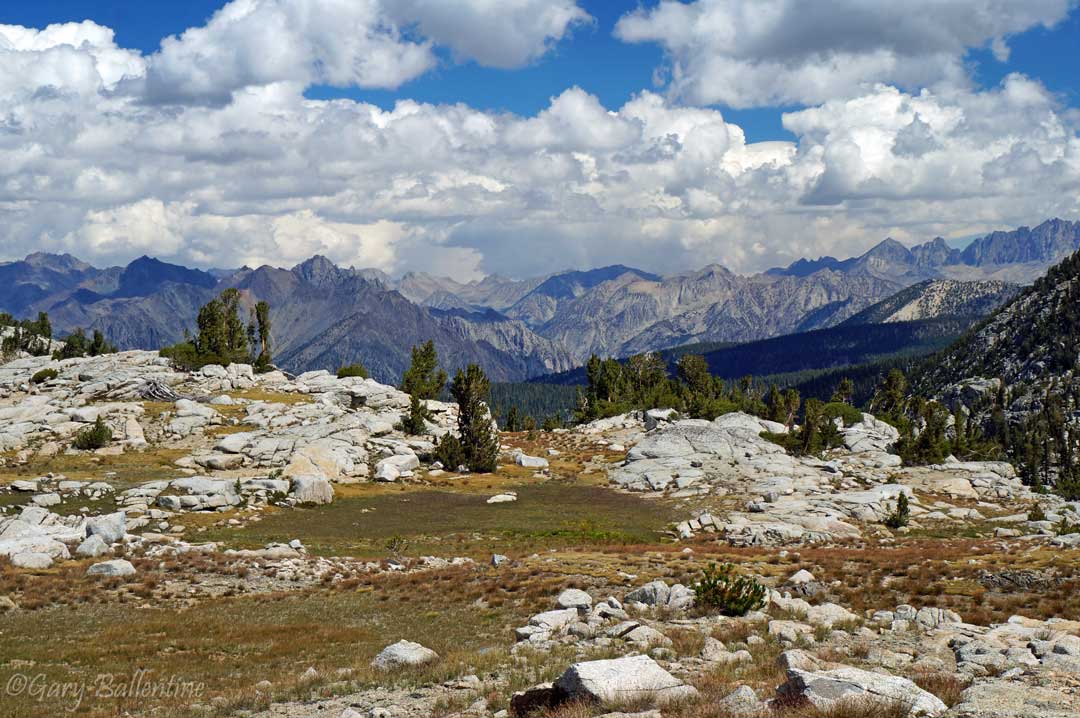
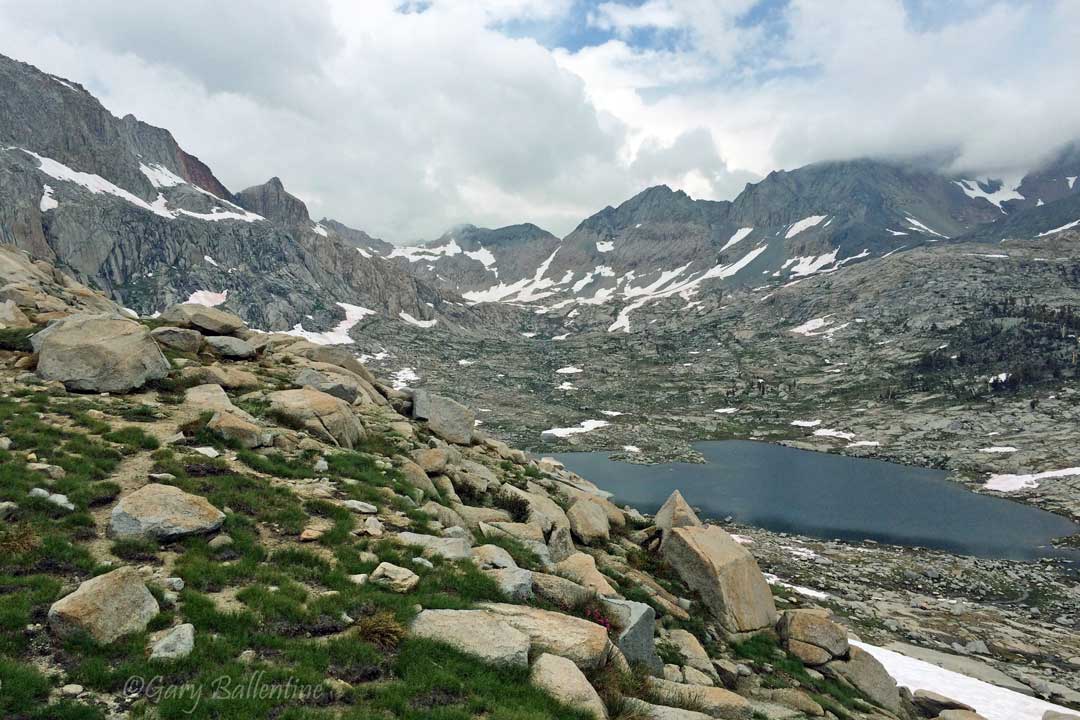
Pinchot Pass is neither easy nor exceptionally difficult, but it feels different—the mountains here are streaked with red and burnt orange from mineral deposits and ancient volcanoes. With massive, brightly colored glacial moraines, emerald-blue tarns, and vertical cliffs, it feels almost like something from another world.
From Wallace Creek, you descend 4.1 miles to the junction for Colby Pass. This is where you must decide on either the long route or the short route. Colby Pass is stunning, but it’s very difficult, and bypasses the High Sierra Trail.
If you’ve never hiked the HST and have the supplies, you should hike south along the Kern River on the High Sierra Trail. You can camp near the bridge beneath Chagoopa Falls, in Upper Meadow, or climb out of the Kern Trench to Sky Parlor Meadow and Moraine Lake.


From Avalanche Pass you begin your final descent back to Roads End. The pass itself is dry except for a few seasonal tarns, but campsites are visible from the trail where it crosses Sphinx Creek just a few miles down. From there you descend the Sphinx on a trail carved into its nearly vertical granite walls until you reach Bubb’s Creek. From the creek, it’s a relatively flat, easy hike back to Roads End.

Hi! I’m Gary. I’m the mountain-enthusiast and gearhead behind Granite Cliffs. My goal is to provide the inspiration and information you need to go outside and explore. This is my Adventure Portal.